Installing windows is a crucial step when converting a camper van. They provide light, ventilation and turn the van into a comfortable living space. After extensive research, we opted for windows from Belluna. In this article, I describe the reasons for this choice, the special features of the installation and the practical experience we have had with the windows so far.
Why Belluna windows?
There are several manufacturers on the market. The best known are Seitz windows from Dometic, as well as Carbest. We chose Belluna for three reasons:
- Price: they were cheaper than comparable models from Carbest or Seitz.
- Scope of delivery: Insect screens and blackout blinds were already included.
- Appearance: We chose the darkest version. In daylight, nobody can see into the vehicle from the outside - a practical privacy screen without additional film.
We also deliberately chose slightly curved windows on the sides. The idea was that they would adapt better to the curvature of the bodywork and distort the sheet metal less.
Why wooden frames are necessary
Belluna and Seitz windows were originally designed for caravans and partially/fully integrated motorhomes. These vehicles consist of sandwich panels with a wall thickness of around 30 mm. In a panel van, on the other hand, the sheet metal is only a few millimeters thick. In order to be able to install the windows stably, wooden compensation frames are therefore required. They compensate for the missing wall thickness and ensure a stable screw connection. Later, they are invisible, but fulfill an important function.

The difficulty with curved windows
Our windows measure 1000 × 500 mm. We opted for the curved version, which seemed sensible in theory, but in practice meant a considerable amount of extra work.
The windows are curved on the outside, but straight on the inside. This meant that the wooden frames also had to be adjusted to the same radius. The radius is around five meters - a flat curve, but technically complex. Even marking it out is complicated. I printed out a template and then sanded the wooden parts by hand, as I didn't have any machines at my disposal. That was very time-consuming.
With hindsight, I have to say that curved windows would not have been absolutely necessary for the Ducato/Boxer. With slightly smaller windows, around 1000 × 450 mm, straight windows would probably also have been suitable without any major distortion. Even at a height of 500 mm, it should still work with the Ducato, as the side walls are relatively straight. The cost of the curvature was therefore high in relation to the benefit.
Another problem concerned the screws supplied. They were all the same length. However, due to the radius, the inner frames had different distances to the wood. In some places, the screws were too long or too short, so I had to use suitable replacement screws.
The installation in practice
I installed the first window - the rear window - directly on the road. It was feasible, but inconvenient: noise, long drying times for the primer and the fact that the vehicle was open. I therefore used a rental workshop for the other windows. This was much more pleasant: no weather risk, better lighting conditions and more concentrated work.

I used a cordless jigsaw for the cut-outs. To prevent metal shavings from falling into the vehicle, I applied foil on the inside and inserted magnets. The shavings stuck to the magnets and could be disposed of with the foil. I then thoroughly primed the cut edges before installing the wooden frames and inserting and screwing in the windows. We sealed the windows with a 1 cm thick bead of Dekaseal, more at first, then a little less for other windows. You can use more here, the sealant then swells out and can simply be removed. But it doesn't have to be too much. Just don't pull the sealant out of the gap, only remove the excess.
A brief summary of the process in practice:
- Make the wooden frame and test whether it fits.
- Mark the dimensions of the cut-out, drill approx. 8 mm holes at the corners with the drill (the corners should be rounded so that the sheet metal cannot tear, and you also have to use the saw).
- Cut and deburr with a file.
- Prime
- Attach the wooden frame on the inside and glue it on temporarily.
- Seal the window edge with Dekaseal.
- Insert the window from the outside. The Dekaseal will make it stick a little. However, another person should secure it or press it into place.
- Attach the inner part of the frame from the inside and screw it in place until the windows are completely in place, the sealant should squeeze out everywhere.
- Remove the excess after a few hours.

First experiences
After prolonged use, the following points emerge:
- Tightness: No problems so far, all windows are tight.
- Stability: The windows appear robust and stable.
- Privacy: The dark tinting prevents people from looking into the vehicle during the day.
- Roller blinds and insect screen: Work, but have warped slightly. The blackout blinds are slightly "pillow-shaped" and bent inwards. You can see this in the following picture.

Conclusion
Belluna windows are attractively priced and have the advantage that insect screens and blackout blinds are integrated. The dark version provides privacy. The curved windows look good, but make installation unnecessarily complicated.
In hindsight, straight windows would probably have been the more practical solution. The extra work involved in adjusting the wooden frames and the screw problem should not be underestimated.
The warped inner covers spoil the otherwise very good overall impression somewhat. But we have got used to it. It has no effect on the function.
From the outside, the reflections sometimes make it look as if the windows are slightly warped. This is difficult to show in photos and I think it also depends on the temperature. However, we have not noticed any visual impairment.
- Windows such as Belluna or Seitz require wooden compensating frames in the panel van.
- Curved windows fit well visually, but cause considerable additional work.
- Smaller windows (1000 × 450 mm) could also be used in the Ducato as a straight version.
- Radius work: Use a template and plan for a lot of manual work.
- Check the screws supplied - often not suitable for all areas.
- Protect the interior with foil and magnets to catch metal shavings.
- Always prime cut edges to prevent rust.
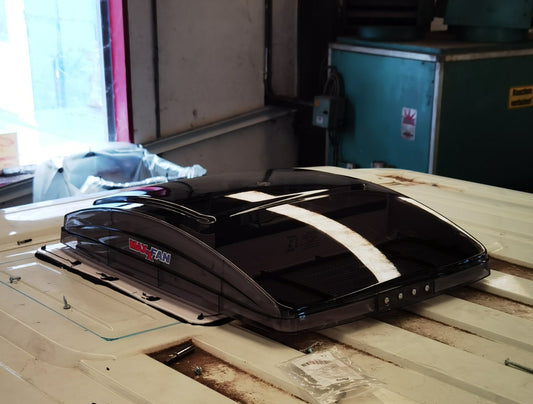
The next article in the series is about the MaxxFan Deluxe roof ventilator: why we chose this model, what special features need to be considered during installation and what experiences we have had with it in everyday use.


