

Prickstop installation instructions for Fiat Ducato, Peugeot Boxer and Citroën Jumper
Here you will find complete installation instructions for Prickstop protective plates on the driver’s door and rear door, as well as for the mechanical rear-door locking device. Depending on the model, the instructions also apply to the Opel Movano from 2021 and the Toyota Proace Max. First identify your door trim panel using the comparison image, then select the appropriate instructions in the product table.
1. Identify the new or old Ducato door trim panel
Vehicles from the model update onward
- Fiat Ducato: from approx. 2021
- Peugeot Boxer / Citroën Jumper: from approx. 2024
- Opel Movano: from 2021
- Toyota Proace Max: from market launch
Vehicles up to the model update
- Fiat Ducato: 2006 to approx. 2021
- Peugeot Boxer / Citroën Jumper: 2006 to approx. 2024

2. Select the Prickstop product and installation instructions
| Product | New door trim panel | Old door trim panel |
|---|---|---|
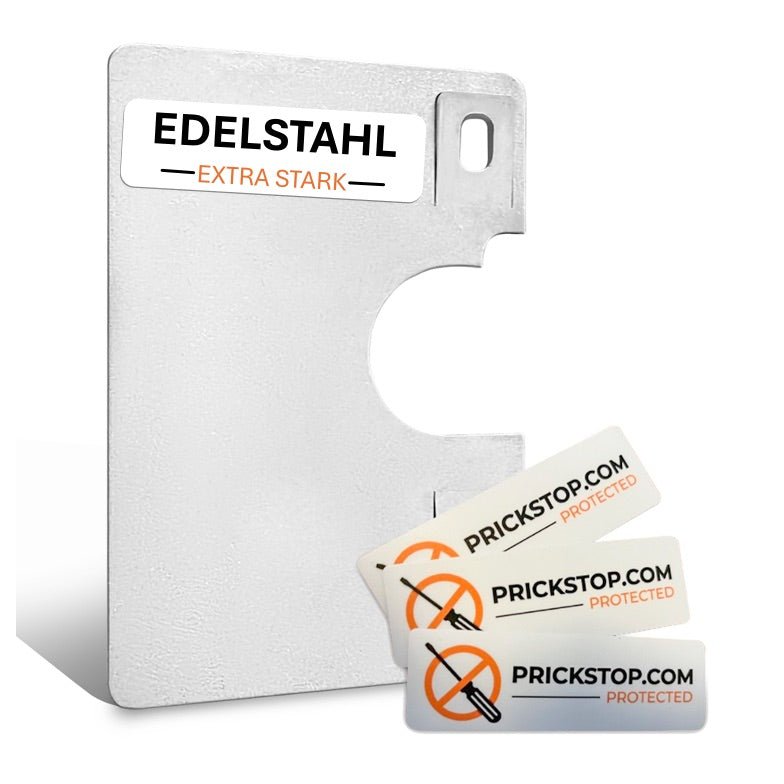
Prickstop interior - driver’s doorInternal stainless-steel protective plate
|
||
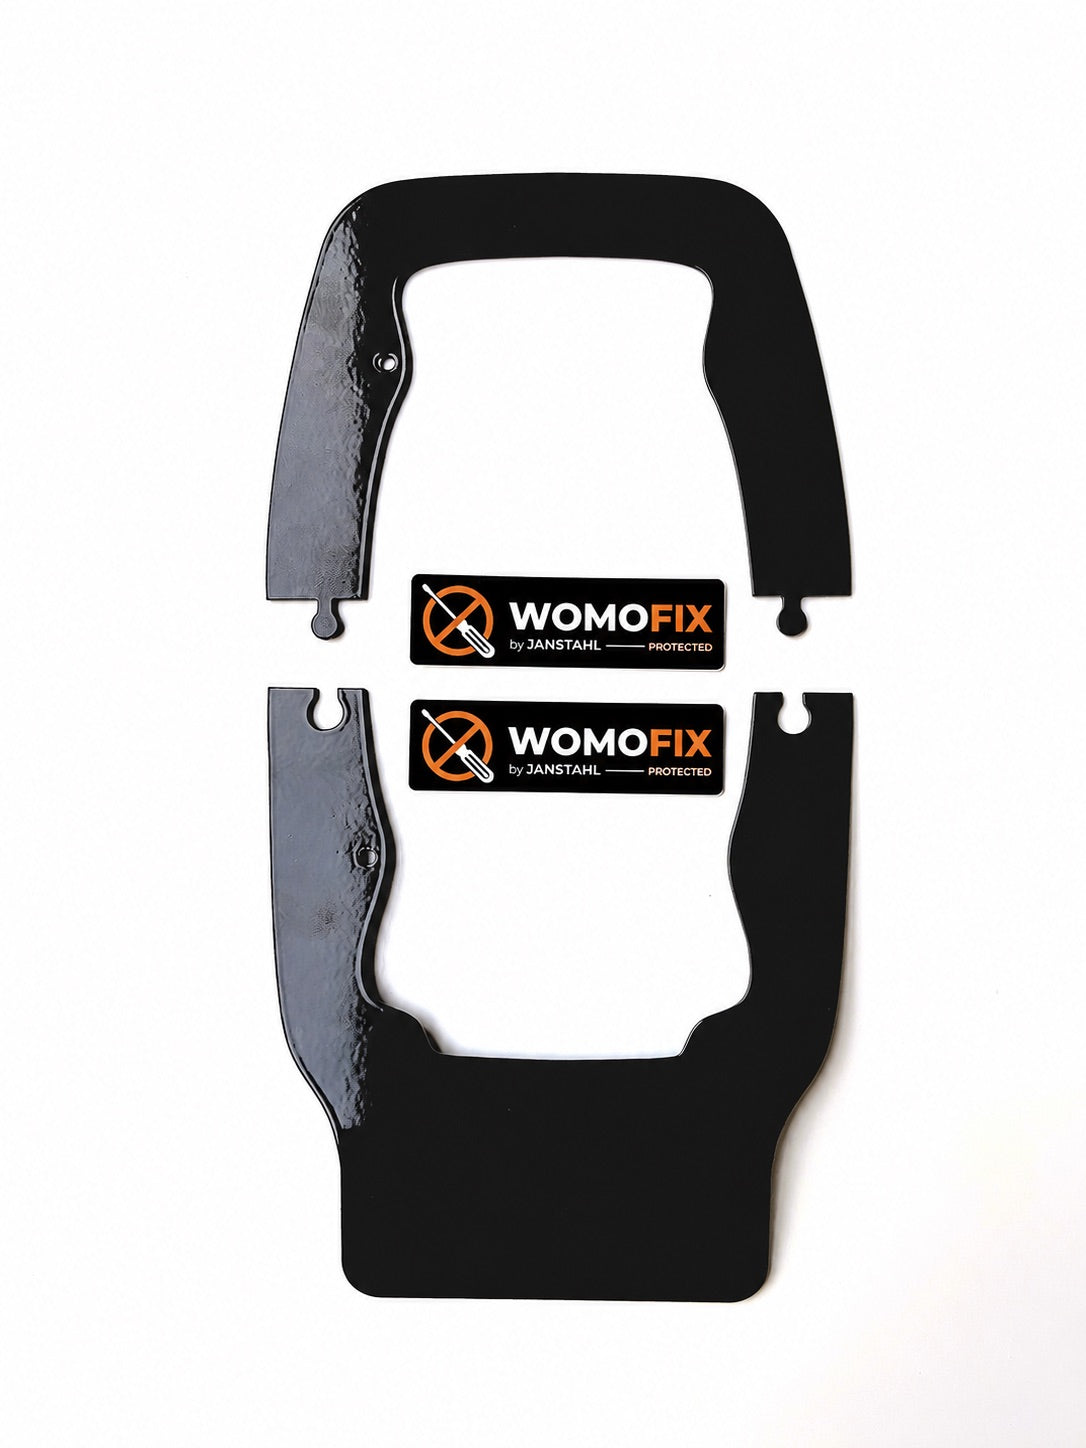
Prickstop exterior - driver’s doorVisible two-piece protective plate
|
||
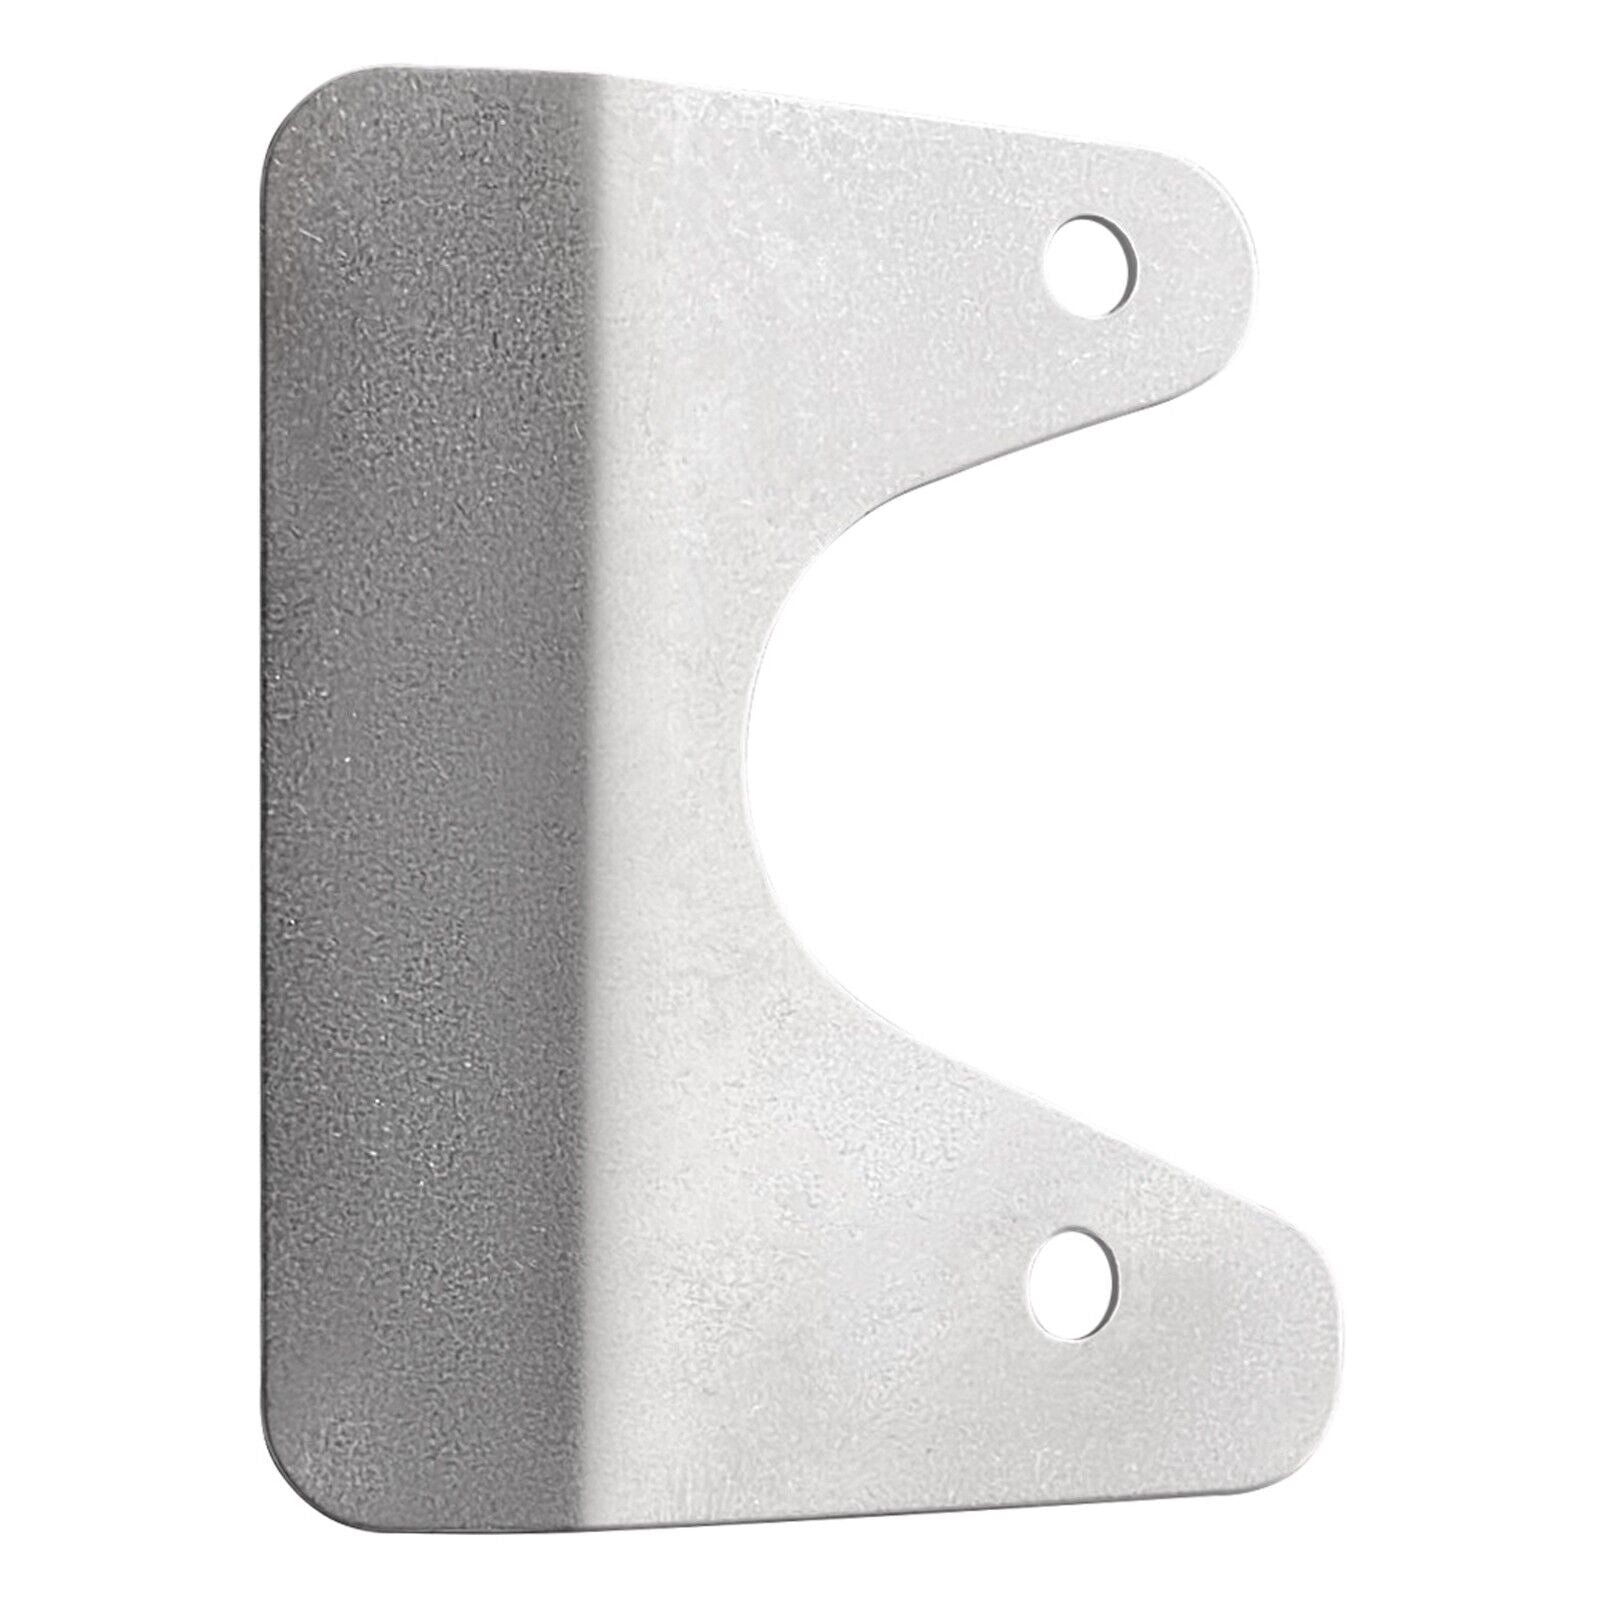
Prickstop interior - rear doorInternal protective plate at the lock cylinder
|
||
|
Prickstop exterior - rear doorVisible two-piece protective plate
|
||
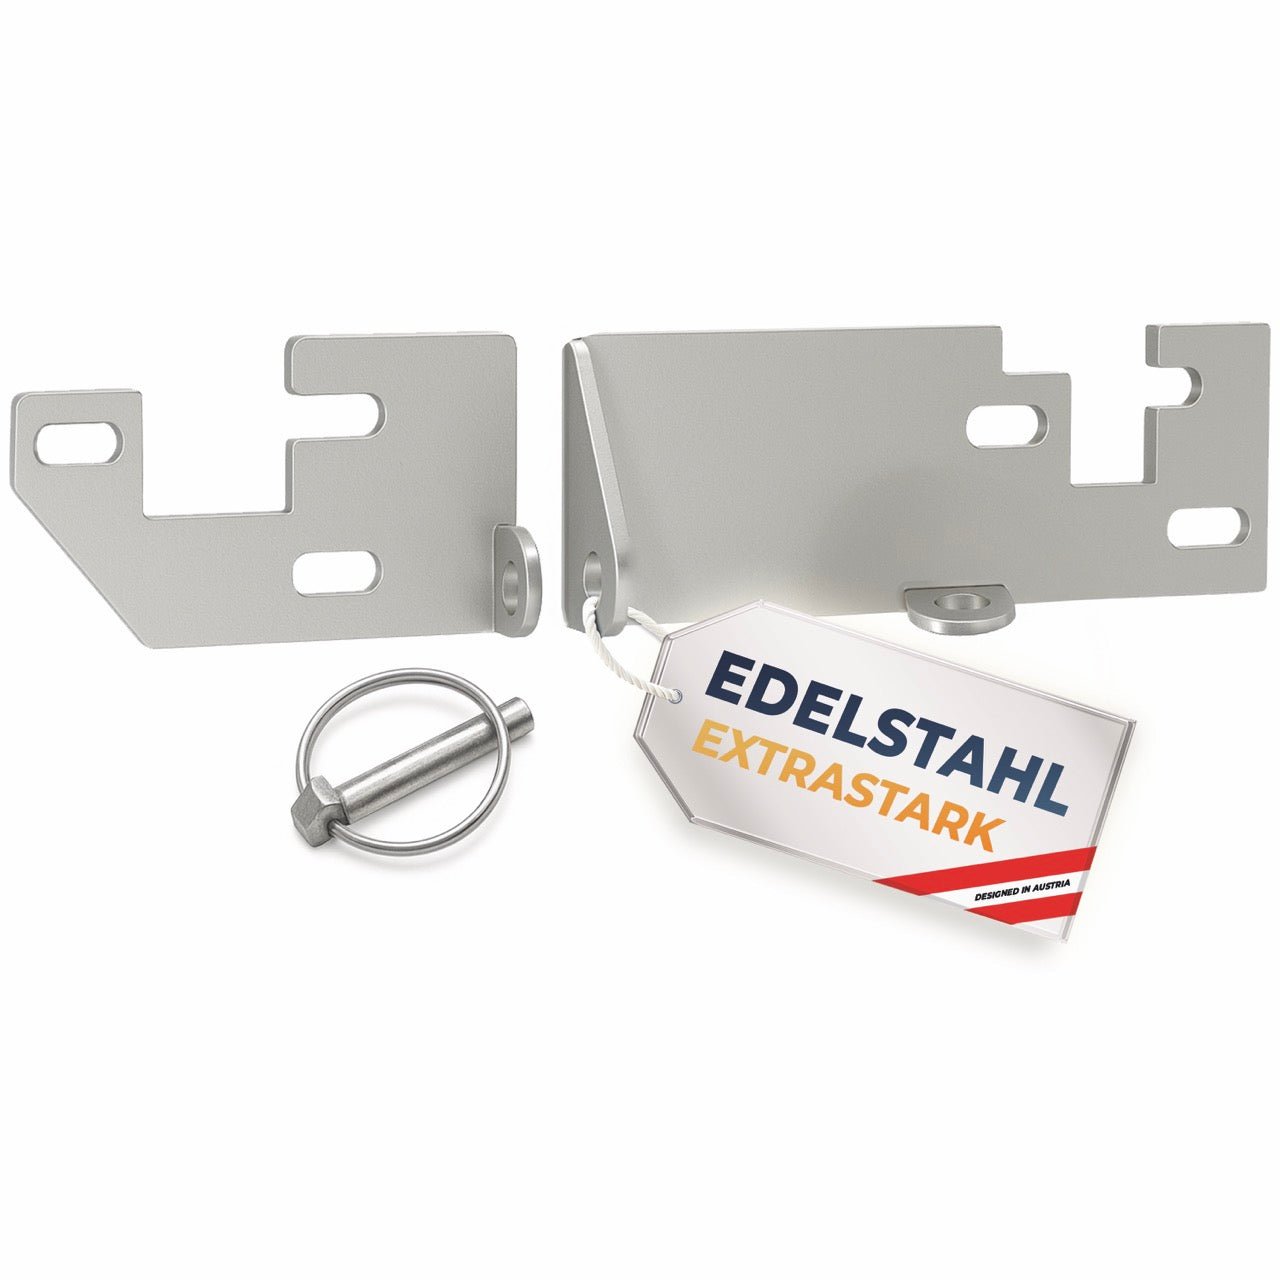
Rear-door locking deviceMechanical additional locking device with linch pin
|
||
Install Prickstop interior on the driver’s door – new door trim panel
New door trim panel
Ducato from approx. 2021, Boxer/Jumper from approx. 2024
- Phillips screwdriver
- Torx T30
- 10 mm socket with ratchet and extension
- Trim removal tool or plastic pry tool
- Utility knife
- Adhesive tape or heavy-duty duct tape
- Paper or cloth towels
1. Remove the power-window switch
Insert the trim removal tool at the rear end of the switch panel. Carefully pry the panel upward and remove it from the door trim.

2. Remove the cover behind the door handle
Carefully pry out the plastic cover behind the door handle and remove the screws underneath.

3. Remove the rear armrest cover
First slide the upper part of the rear armrest cover backward, then lift it upward and remove it. Remove the screws underneath.

4. Remove the screws
Another screw is located underneath the rubber mat at the bottom of the handle recess.
A total of nine screws must be removed.

5. Remove the door trim panel
Check again that all nine screws have been removed. Carefully release the door trim panel from the clips around its entire edge and remove it.
6. Open the door membrane
Open the door membrane in the area of the lock. You can carefully release the adhesive bond and peel back the membrane. In most cases, it is easier to make a cross-shaped cut in the membrane because the adhesive can be difficult to release.
After installation, carefully reseal the membrane using heavy-duty duct tape or a comparable permanently adhesive tape.

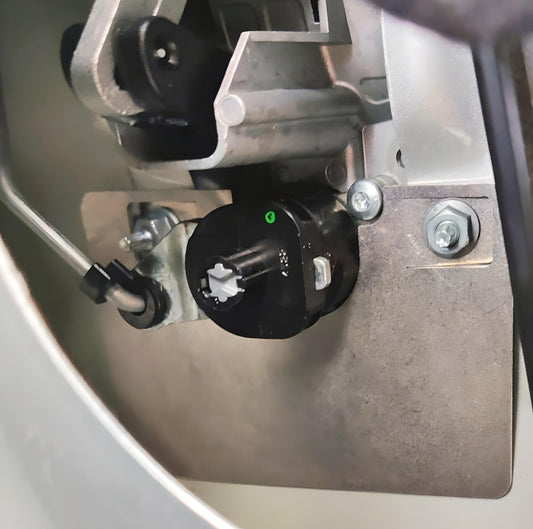
7. Install the Prickstop protective plate
Pack the area beneath the door handle with towels so that nuts or tools cannot fall into the door.
Remove both nuts completely. Place the Prickstop protective plate over the threaded studs and retighten the nuts.

8. Reassemble the door
Carefully reseal the door membrane. Reinstall the door trim panel, screws, covers and switch in reverse order.
Final check
- All screws and nuts are securely tightened.
- The door membrane is carefully resealed.
- All covers and trim parts sit flush.
Install Prickstop interior on the driver’s door – old door trim panel
Old door trim panel
Ducato 2006 to approx. 2021, Boxer/Jumper 2006 to approx. 2024
- Phillips screwdriver
- Torx T30
- 10 mm socket with ratchet and extension
- Trim removal tool or plastic pry tool
- Utility knife
- Adhesive tape or heavy-duty duct tape
- Paper or cloth towels
1. Remove the speaker cover
Carefully pry off the clipped-in speaker grille, then remove the screws behind it.

2. Remove the power-window switch
Insert the trim removal tool at the rear end of the switch panel and carefully pull the panel out of the door trim.
3. Remove covers and screws
Remove the cover behind the door handle and the screws underneath. Also release the rear armrest cover.
4. Remove the door trim panel
Secure the armrest, which remains attached to the cable, with adhesive tape. Carefully release the door trim panel from the clips around its entire edge and remove it.

5. Open the door membrane
Open the door membrane in the area of the lock. You can carefully release the adhesive bond and peel back the membrane. In most cases, it is easier to make a cross-shaped cut in the membrane because the adhesive can be difficult to release.
After installation, carefully reseal the membrane using heavy-duty duct tape or a comparable permanently adhesive tape.
6. Install the Prickstop protective plate
Pack the area beneath the door handle with towels.
Remove both nuts completely. Place the protective plate over the threaded studs and retighten the nuts.
7. Reassemble the door
Carefully reseal the door membrane. Reinstall the door trim panel, armrest, covers, power-window switch and speaker cover in reverse order.
Final check
- All screws and nuts are securely tightened.
- The door membrane is carefully resealed.
- All covers and trim parts sit flush.
Install Prickstop exterior on the driver’s door – new door trim panel
New door trim panel
Ducato from approx. 2021, Boxer/Jumper from approx. 2024
Optionally, you can apply a thin protective or sealing layer between the protective plate and the paintwork. Suitable materials include transparent body adhesive, body sealant, a non-curing sealant such as DEKASEAL 8936, closed-cell foam rubber or paint-protection film. Do not use absorbent materials.
- Phillips screwdriver
- Torx T30
- 10 mm socket with ratchet and extension
- Trim removal tool or plastic pry tool
- Utility knife
- Adhesive tape or heavy-duty duct tape
- Paper or cloth towels
- Optional: transparent body adhesive, body sealant, DEKASEAL 8936, paint-protection film or closed-cell foam rubber
1. Remove the power-window switch
Insert the trim removal tool at the rear end of the switch panel and carefully pry the panel upward.
2. Remove the door-handle cover
Pry out the plastic cover behind the door handle and remove the screws underneath.
3. Remove the armrest cover and screws
Slide the rear armrest cover backward and then lift it upward to remove it. Remove the screws underneath.
4. Remove the door trim panel
Check that all nine screws have been removed. Carefully release the door trim panel from the clips around its entire edge and remove it.
5. Open the door membrane
Open the door membrane in the area of the lock. You can carefully release the adhesive bond and peel back the membrane. In most cases, it is easier to make a cross-shaped cut in the membrane because the adhesive can be difficult to release.
After installation, carefully reseal the membrane using heavy-duty duct tape or a comparable permanently adhesive tape.
6. Loosen the mounting nuts
Back off the two nuts on the door handle by approximately 3 mm. Also back off the additional nut located above and to the left by approximately 3 mm. Do not remove the nuts completely.

7. Install the lower section
Carefully slide the lower section under the door handle from the outside. Align it and temporarily secure it with adhesive tape.
Sealing is not required. Optionally, you can apply a thin sealing or paint-protection layer between the protective plate and the vehicle paintwork.

8. Insert and align the upper section
Insert the upper section and initially tighten the nuts only lightly. Carefully align the upper and lower sections with each other and with the door handle. Tighten the nuts fully only after everything has been correctly aligned.
9. Reassemble the door
Carefully reseal the door membrane. Reinstall the door trim panel, screws, covers and switch in reverse order.
Final check
- The protective plate sits evenly against the surface with no gap.
- All screws and nuts are securely tightened.
- The door membrane is carefully resealed.
- All trim parts are securely fitted.
Install Prickstop exterior on the driver’s door – old door trim panel
Old door trim panel
Ducato 2006 to approx. 2021, Boxer/Jumper 2006 to approx. 2024
Optionally, you can apply a thin protective or sealing layer between the protective plate and the paintwork. Suitable materials include transparent body adhesive, body sealant, a non-curing sealant such as DEKASEAL 8936, closed-cell foam rubber or paint-protection film. Do not use absorbent materials.
- Phillips screwdriver
- Torx T30
- 10 mm socket with ratchet and extension
- Trim removal tool or plastic pry tool
- Utility knife
- Adhesive tape or heavy-duty duct tape
- Paper or cloth towels
- Optional: transparent body adhesive, body sealant, DEKASEAL 8936, paint-protection film or closed-cell foam rubber
1. Remove the speaker cover
Carefully pry off the clipped-in speaker grille and remove the screws behind it.
2. Remove the power-window switch and covers
Remove the power-window switch. Remove the cover behind the door handle as well as the screws in the handle and armrest area.
3. Remove the door trim panel
Secure the armrest, which remains attached to the cable, with adhesive tape. Release the door trim panel from the clips around its entire edge and remove it.
4. Open the door membrane
Open the door membrane in the area of the lock. You can carefully release the adhesive bond and peel back the membrane. In most cases, it is easier to make a cross-shaped cut in the membrane because the adhesive can be difficult to release.
After installation, carefully reseal the membrane using heavy-duty duct tape or a comparable permanently adhesive tape.
5. Loosen the mounting nuts
Back off the two nuts on the door handle by approximately 3 mm. Also back off the additional nut located above and to the left by approximately 3 mm. Do not remove the nuts completely.
6. Install the lower section
Carefully slide the lower section under the door handle from the outside. Align it and temporarily secure it with adhesive tape.
Sealing is not required. Optionally, you can apply a thin sealing or paint-protection layer between the protective plate and the vehicle paintwork.
7. Insert and align the upper section
Insert the upper section and initially tighten the nuts only lightly. Carefully align the upper and lower sections with each other and with the door handle. Tighten the nuts fully only after everything has been correctly aligned.
8. Reassemble the door
Carefully reseal the door membrane. Reinstall the door trim panel, screws, covers and switch in reverse order.
Final check
- The protective plate sits evenly against the surface with no gap.
- All screws and nuts are securely tightened.
- The door membrane is carefully resealed.
- All trim parts are securely fitted.
Install Prickstop interior on the rear door
One set of instructions for all listed vehicle variants
Open printable PDF version- Suitable tools for removing the rear-door trim panel
- Trim removal tool for panel clips
- 10 mm socket with ratchet and extension
- Adhesive tape and towels
1. Prepare the rear door and work area
Open the rear door fully and secure it against accidental closing. Ensure there is sufficient lighting around the lock area.
2. Remove the rear-door trim panel
Remove the screws and clips securing the interior trim panel. Carefully pry off the panel without damaging the retaining tabs.
3. Loosen the lock mounting
Cover the door area below with towels. Loosen the existing mounting nuts or screws sufficiently to allow the protective plate to be inserted.
4. Insert the protective plate
Slide the protective plate between the existing lock plate and the bodywork. Align it so that the vulnerable area next to the lock cylinder is covered and no moving parts are obstructed.

5. Tighten the fasteners
Hold the protective plate in the correct position and retighten the fasteners loosened previously.
6. Reinstall the trim panel
Reinstall the rear-door trim panel together with all screws and clips.
Final check
- The protective plate is securely fitted.
- The protective plate does not contact any moving parts.
- All screws, clips and trim parts are installed.
Install Prickstop exterior on the rear door
One set of instructions for all listed vehicle variants
Open printable PDF versionOptionally, you can apply a thin protective or sealing layer between the protective plate and the paintwork. Suitable materials include transparent body adhesive, body sealant, a non-curing sealant such as DEKASEAL 8936, closed-cell foam rubber or paint-protection film. Do not use absorbent materials.
- Suitable tools for removing the rear-door trim panel
- Trim removal tool for panel clips
- 10 mm socket with ratchet and extension
- Adhesive tape and towels
- Adhesive tape for temporary securing
1. Prepare the rear door and work area
Open the rear door fully and secure it against accidental closing. Ensure there is sufficient lighting around the lock area.
2. Remove the rear-door trim panel
Remove the screws and clips securing the interior trim panel. Carefully pry off the panel without damaging the retaining tabs.
3. Loosen the lock mounting
Cover the door area below with towels. Loosen the existing mounting nuts or screws sufficiently to allow the protective plate to be inserted.
4. Install the lower section
Carefully slide the lower section of the protective plate under the door handle from the outside. Align it and temporarily secure it with adhesive tape.
Sealing is not required. Optionally, before final alignment, you can apply a thin sealing or paint-protection layer between the protective plate and the vehicle paintwork.
5. Insert and align the upper section
Insert the upper section and initially tighten the nuts only lightly. Carefully align the upper and lower sections with each other and with the door handle. Tighten the nuts fully only after everything has been correctly aligned.
6. Reassemble the rear door
Reinstall the rear-door trim panel together with all screws and clips.
Final check
- The protective plate sits evenly against the surface with no gap.
- All screws and nuts are securely tightened.
- All clips and trim parts are securely fitted.
Install the rear-door locking device on Fiat Ducato, Boxer and Jumper
One set of instructions for Fiat Ducato, Peugeot Boxer, Citroën Jumper and equivalent vehicles
Open printable PDF version- Suitable ratchet or socket
- Pen or removable adhesive tape for marking
- Medium-strength threadlocker if required
1. Check the installation position
Hold the locking device in the intended position and mark its location. Completely remove the screws marked in the image. Back off the additional screw by approximately 3 to 4 mm.

2. Slide the locking device into position
Slide the locking device onto the existing mounting points. Check its position and initially tighten the screws only lightly.

3. Install the second half of the locking device
Repeat the procedure on the opposite rear door. Align both halves of the locking device so that the holes line up exactly when the doors are closed.
4. Insert the linch pin and check the position
Close both rear doors and insert the linch pin. The pin must slide fully through both halves of the locking device without force.
Upper position: Locking device open
Lower position: Locking device closed

5. Fully tighten the screws
Adjust the position if necessary. Only then fully tighten all screws.
Final check
- Both halves of the locking device are securely bolted in place.
- The linch pin can be inserted without force.
- The locking device is open before driving.
Installation videos for fitting Prickstop
The following videos supplement the step-by-step instructions for installing Prickstop on the Fiat Ducato, Peugeot Boxer and Citroën Jumper. For the exact sequence, use the instructions selected above for your product and door trim panel.